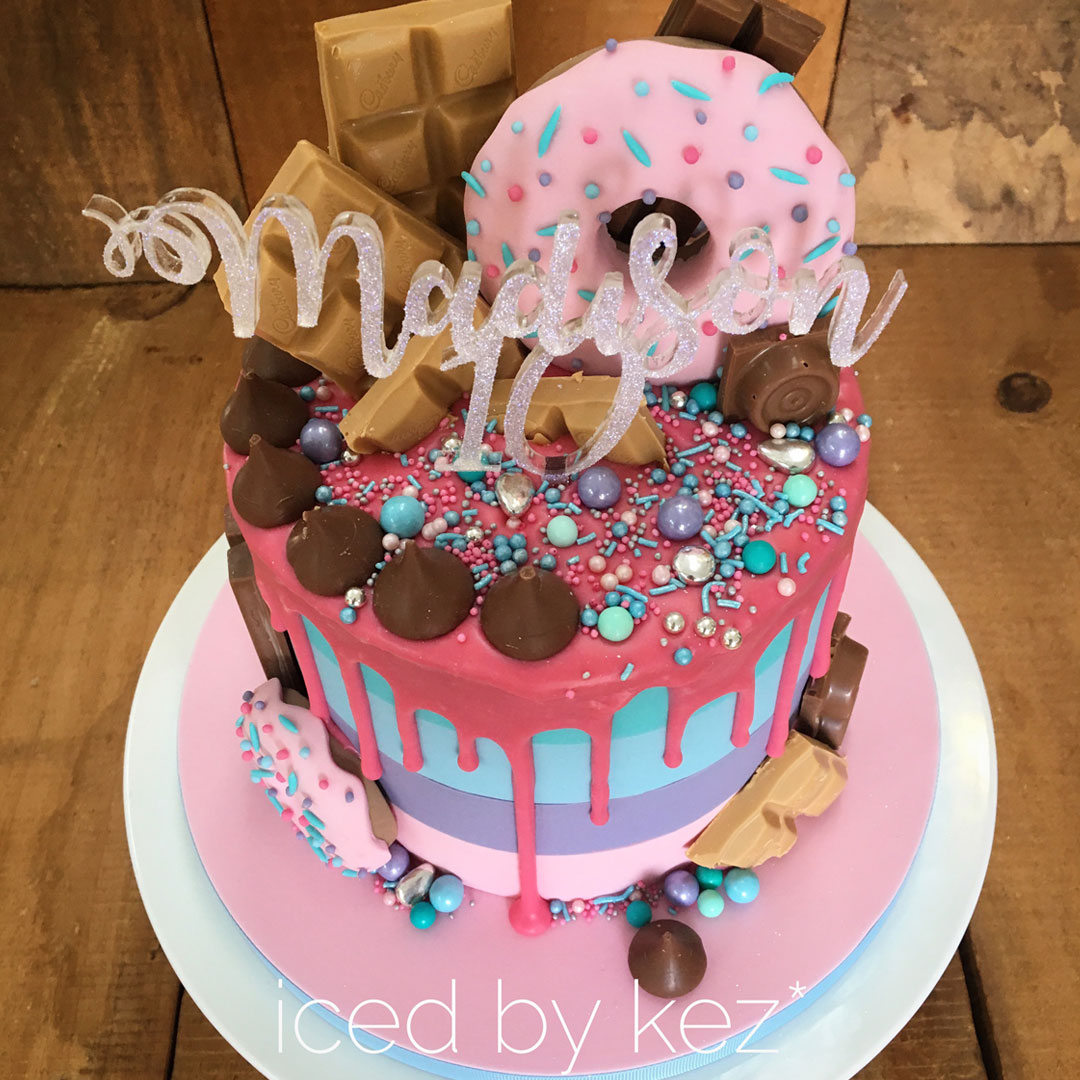
How to create vertical fondant stripes on your cake

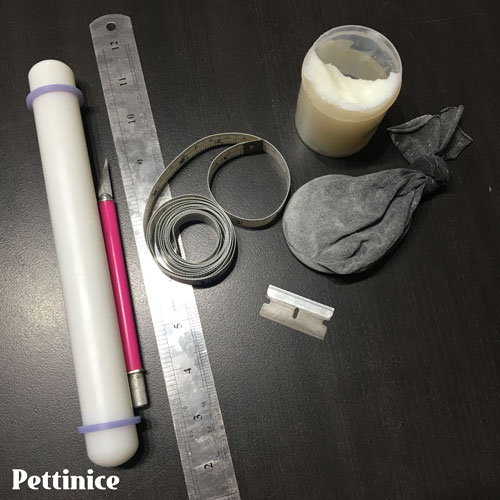
Tools needed
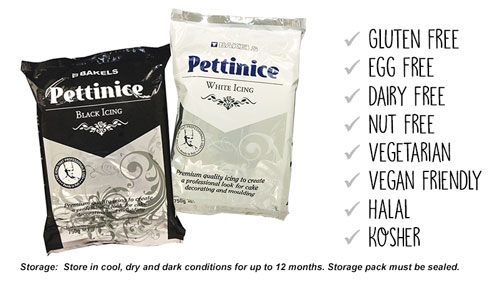
- Fondant mixed with Tylose powder
- Crisco/Chefade
- Cornflour
- fabric measuring tape
- Ruler
- rolling pin with spacers
- Craft Knife
- Razor blade
- Smoother (not pictured)

For this cake, I've decided not to cover the top of my cake with fondant, as it will be a drip cake and not necessary. If you are gong to have the top exposed, be sure to cover the top of the cake with fondant and allow it to dry - preferably overnight or a few hours to set so it is less likely to be dented while you work.
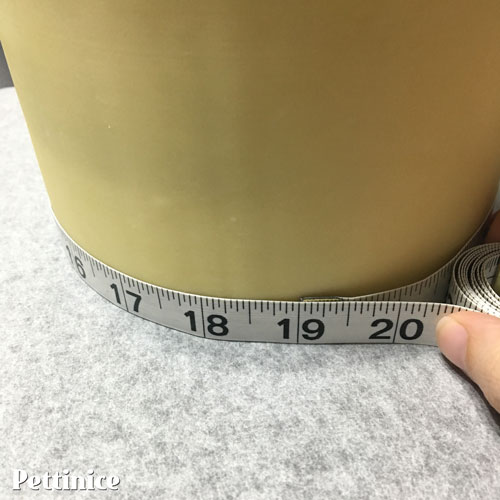
Measure the height & circumference of your cake, add an extra inch to the circumference so you have more than you need.
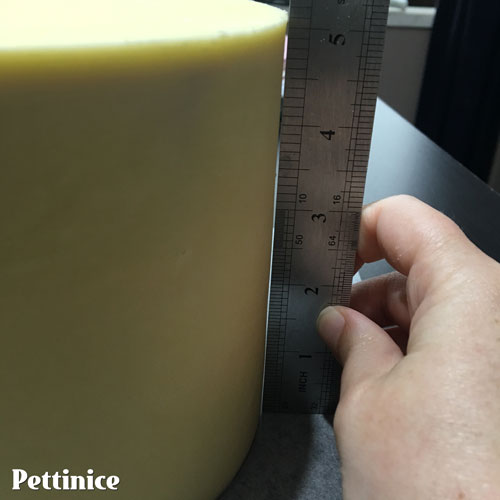
Divide the height of the cake into how many colours you are using - so for this cake it's 4.
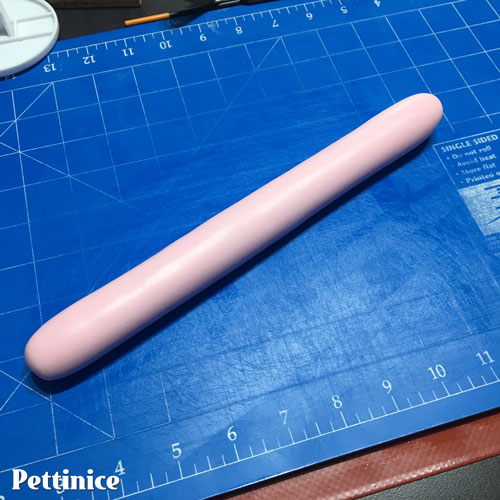
Roll the fondant into a long sausage shape and then use your rolling pin to roll out a thin strip long enough to go around your cake.
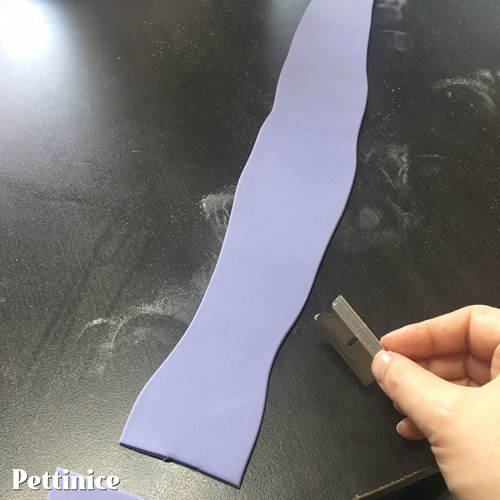
Use your razor to make a straight cut.
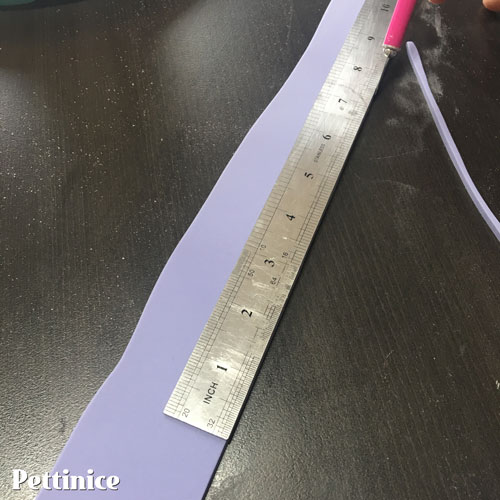
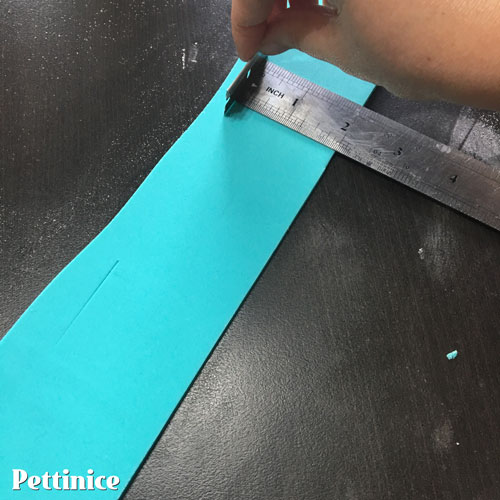
Using a ruler, cut the bottom edge straight and to the measurements you worked out earlier.
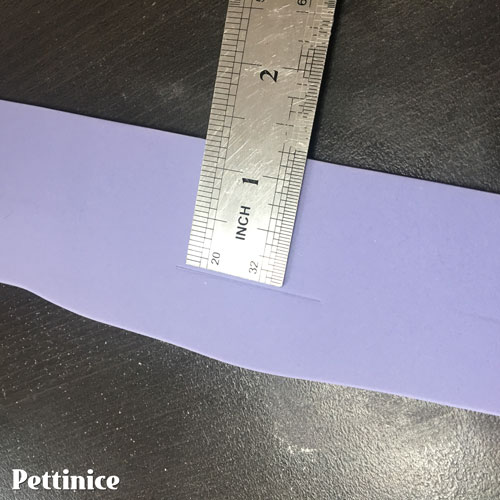
Close up marking the fondant.
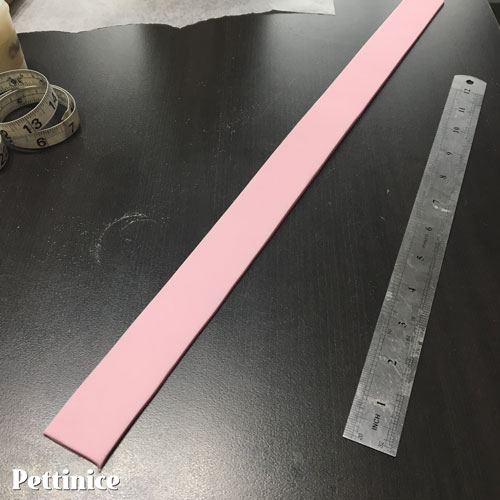
Final result.
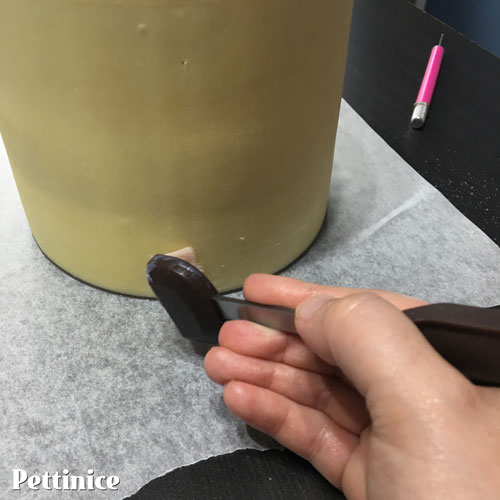
Apply crisco to the ganache,
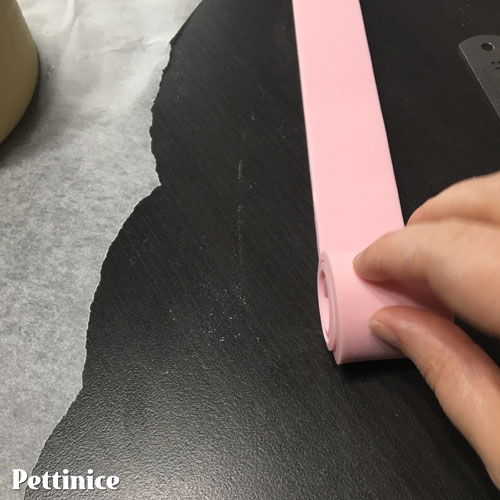
Roll up your fondant strip gently (you can dust a little cornflour on the strip first if it is sticky)
3. After sticking all your strips, trim off the excess fondant cleanly with a razor. flip your cake back around and use a fondant smoother for a clean finish.
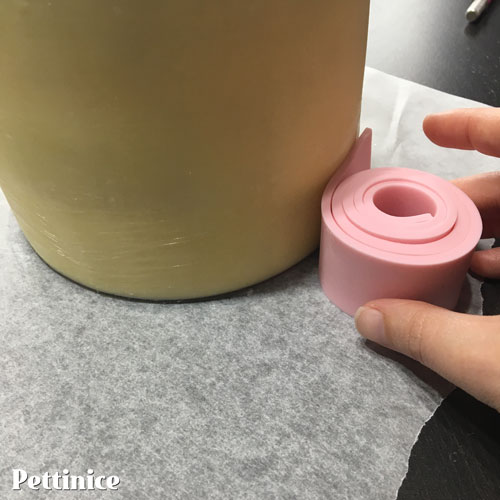
Start with the bottom strip, gently unroll on to the cake.
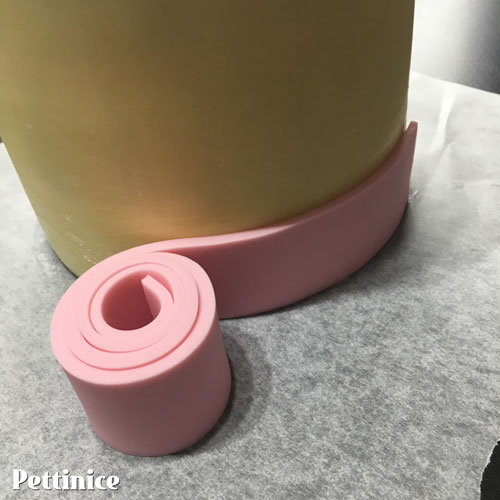
Gently unroll.
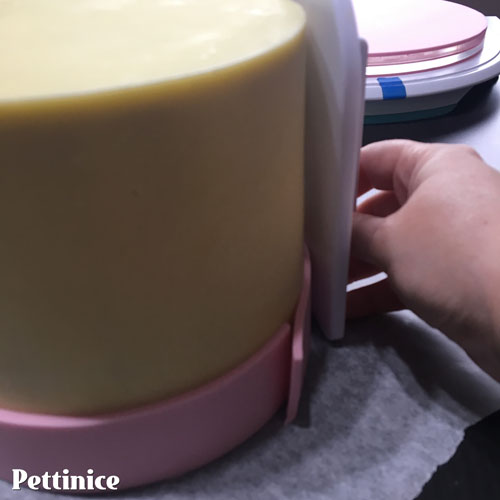
Use your smoother to smooth it on & get rid of any air bubbles.
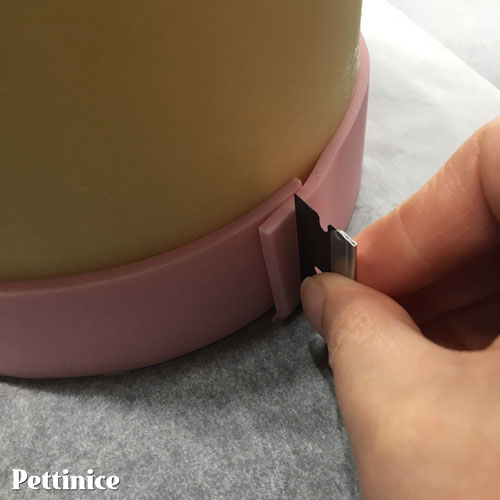
Use a razor blade to cut through both layers, pull back & remove the cut part underneath & then smooth the cut together, being careful to not distort the top edge.
Get down & look at eye level to check it is straight & even.
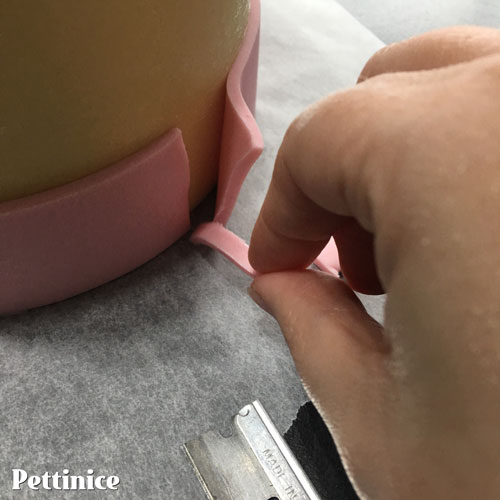
Pull back & remove the cut part underneath & then smooth the cut together,
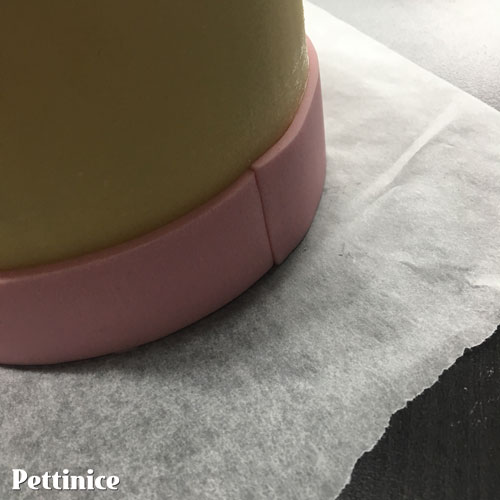
Be careful to not distort the top edge.
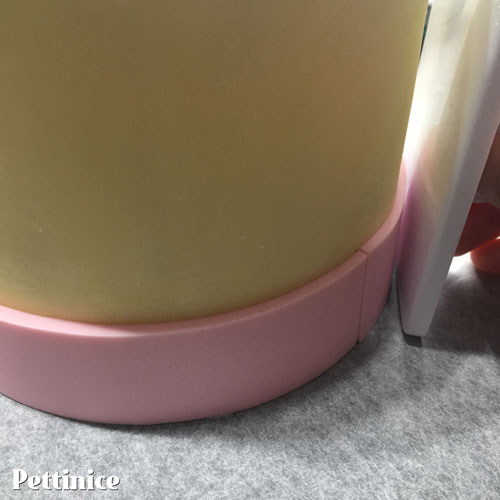
Use your smoother to smooth it on & get rid of any air bubbles
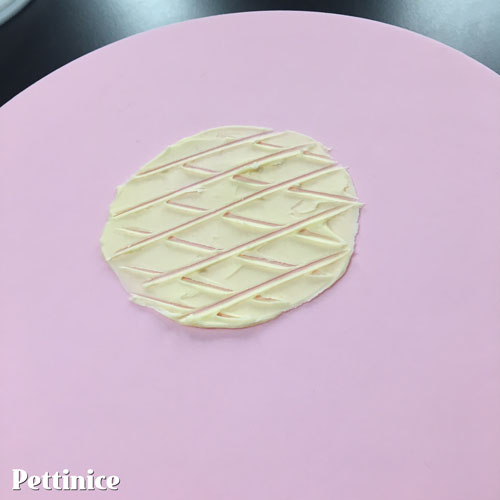
Spread a little ganache on your cake board.
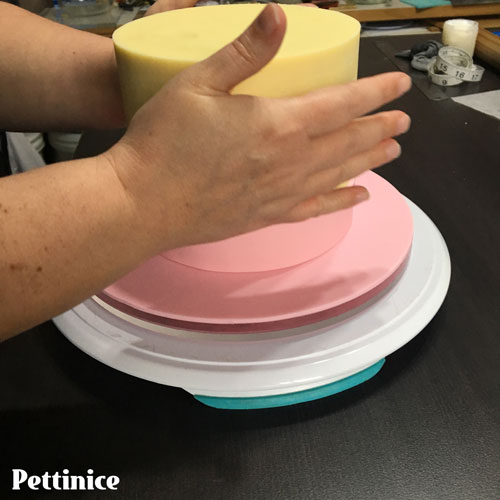
Move cake onto your prepared cake board & repeat the previous steps for the next two colours.
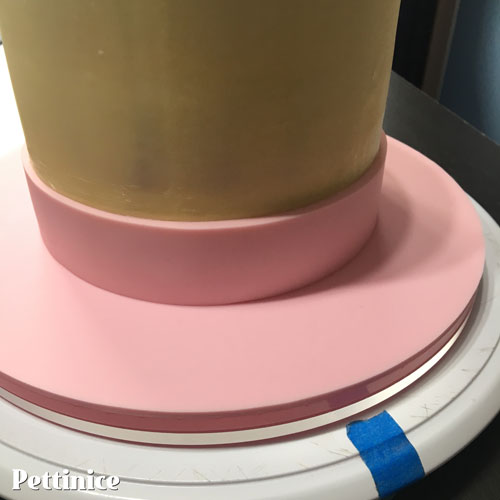
I use a little tape to mark the front of the cake.
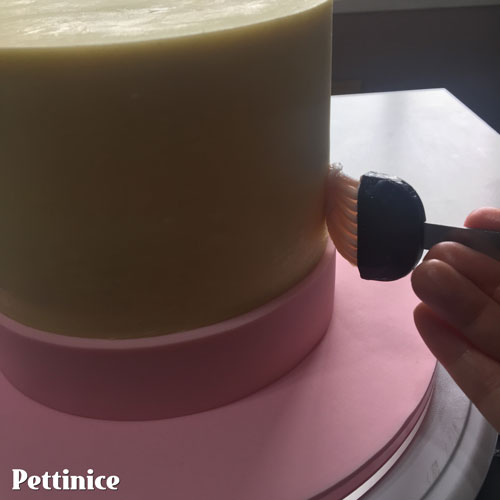
Apply crisco to the ganache.
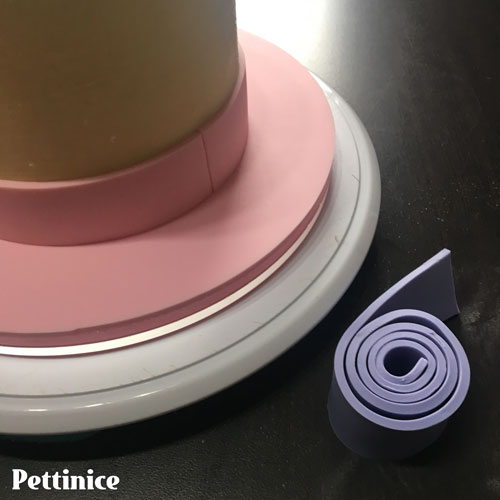
Roll up your fondant strip gently (you can dust a little cornflour on the strip first if it is sticky)
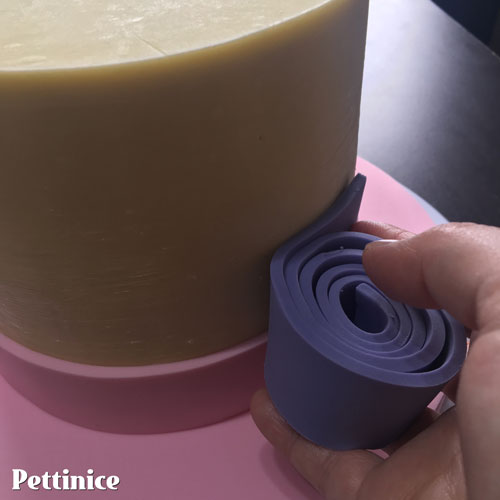
Gently unroll on to the cake...
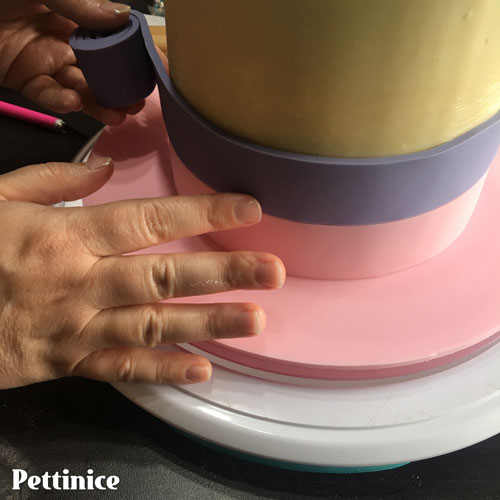
...all the way around.
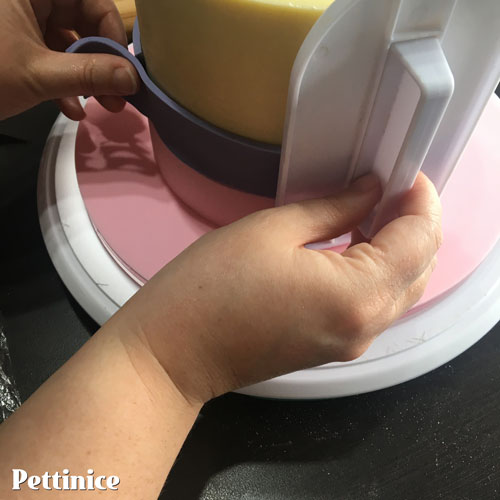
Use your smoother to smooth it on & get rid of any air bubbles.
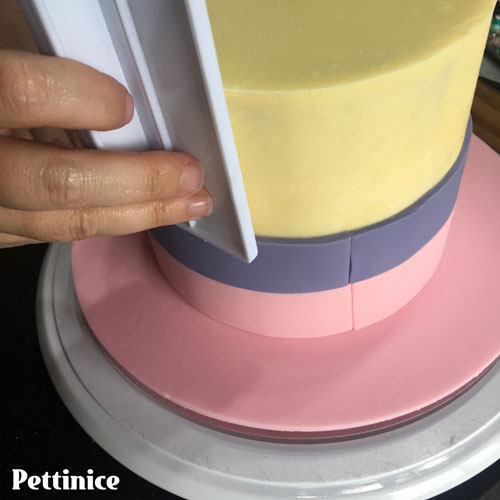
Be careful to not distort the top edge.
Repeat the same process for the third colour.
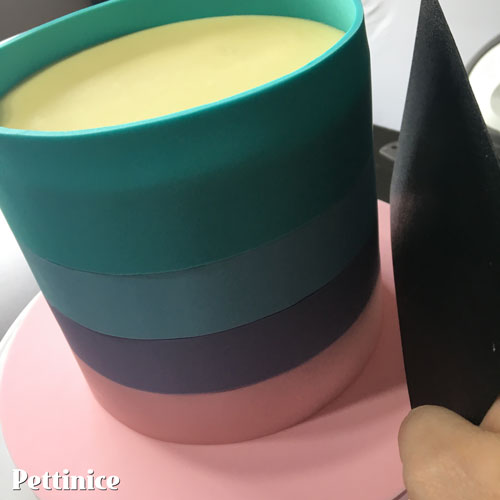
For the last colour at the top of the cake, cut it bigger, so if you were cutting 1.5" stripes, make it 2" tall instead so that it sits above your cake and you can then get a straight & even cut using your razor blade.
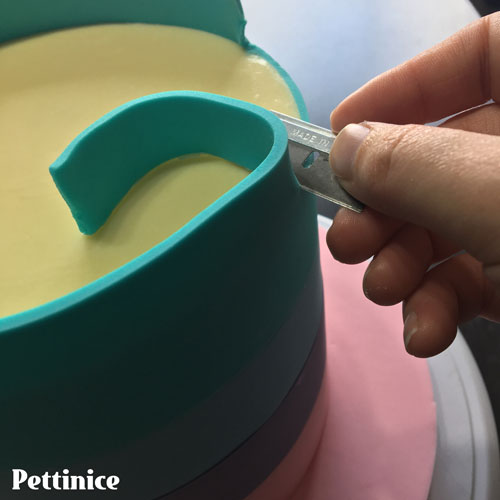
Continue trimming off the excess fondant all the way around the cake cleanly with a razor.
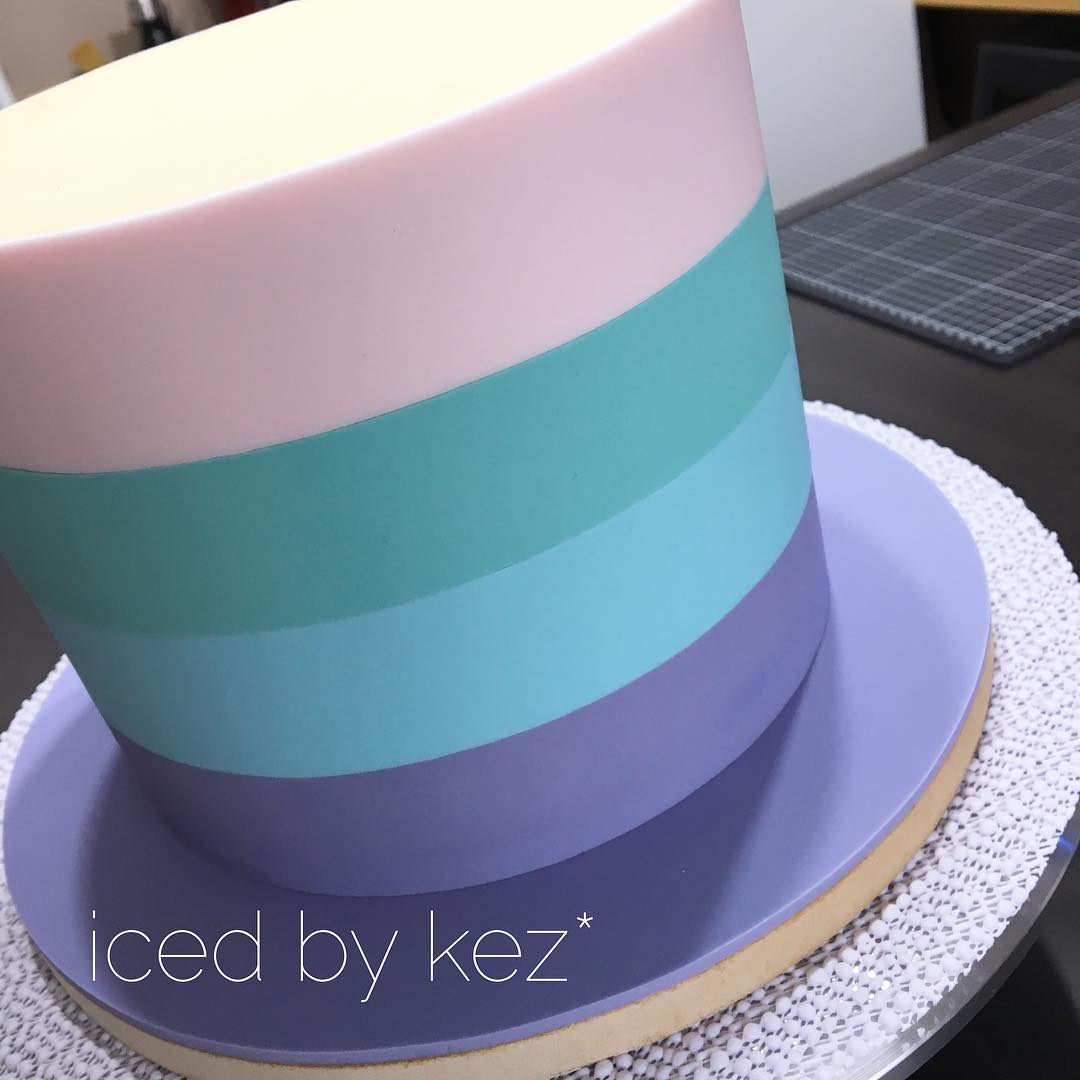
I have made variations of this cake several times. Here is another version, inverting my favourite colours!

Final step is to add your chocolate drip and decorate with sprinkles, cut chocolate bars and more. See how I made the donuts in my tutorial.

If you are not doing a drip cake...
If you aren't making this drip design then first cover the top - you can do this two ways... either like normal, then flip the cake upside down, measure and carefully cut a straight line around the whole cake and that is your first strip done... carry on as before but remember you are working upside down now... so think about that with your colours. The other way is to roll out fondant for the top of your cake & apply it like you would for a cake board.... I do this upside down as it means I get the cleanest edge when I cut the excess away against the side of the cake. Then again working upside down apply the strips as shown.

Kez Maxwell runs iced by kez* in Auckland, New Zealand.
"My passion for cake decorating came from making my kids their birthday cakes and has grown from there. I have been decorating for four years now and learned so much along the way. In the beginning Youtube was my class room - but since then I've made some amazing friendships through Facebook in the vast cake world there and through these friendships have learnt so much!"
You can find Kez on Facebook and Instagram.


