Upside down method for sharp edges on a cake FAQ
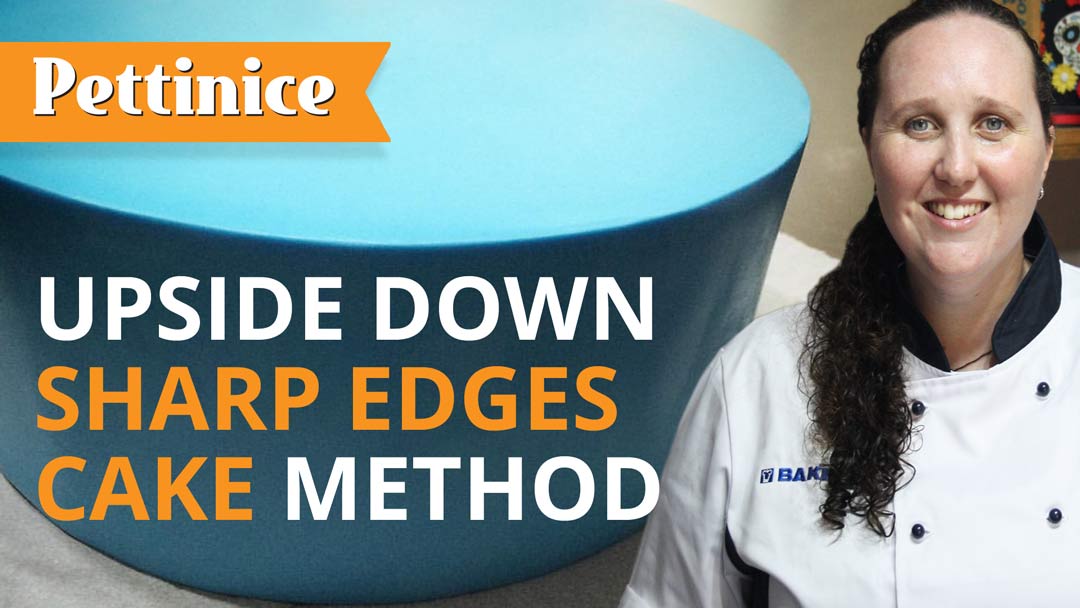
Kez Maxwell shares her tips for creating those sharp cake edges using the upside down method.

There are many methods to create those crisp edges on your cake. Kez Maxwell shares her process and answers your questions below.
I love using Pettinice for my tiered cakes. Using my acrylic boards, I can quickly create sharp, crisp edges. I also cover my cake boards using the upside down method!

FAQ
- What do you use to adhere your fondant to your board & cake?
I use shortening. Either Crisco or in NZ Chefade. - What do you use on your bench to roll the fondant out on?
I lightly grease my hands with shortening and rub the bench. I sprinkle cornflour to keep the fondant from sticking. - Why is your cake on baking paper?
I put my cakes on a piece of baking paper so I can move them around my bench easily. This is especially helpful when I need to flip my cake. I can pull it over to the edge of the bench and get my hand under it ready to flip without touching the fresh fondant and leaving marks. - What is the black smoother you use?
it's a homemade flexible smoother made from the cover of a clear file folder. You can also make them using acetate and PET (what plastic coke bottles are made of). - How do you get rid of air bubbles?
I use an acupuncture needle to prick them and then smooth them out. - How do you then move the cake onto the cake board?
I usually cover my cakes a day before I decorate. So my fondant has had time to set and I can gently hold the cake with a hand on either side and lift it onto the board. If I don't have time to wait for the fondant to set then you can put the board on the cake when it is upside down after getting the sharp edges. You just have to be careful to get the board on evenly

Step by step

Brushes shortening onto your cake board.

Grease your hands lightly with shortening and rub across your bench.

Lightly dust with cornflour.
 Roll your fondant.
 One last check to measure your fondant for your cake board.

Move the fondant onto the baker paper that sits on the set up board.

Place your cake board, sticky side down onto your fondant.

Trim away the excess fondant.

Place your hand over the cake board, and carefully flip everything over.

Flip!

Remove the baking baker and allow your cake board to dry. Preferably overnight.

Brush your shortening all over your ganached cake.
 Roll out your fondant.

Use your rolling pin to help you place the fondant over the cake.

 Use your cake smoother to press down along the edges.
 Trim away the excess fondant.


Pull the cake towards you, with one hand on each side of the cake.

Flip it. Flip it good! 🎶

Brush up the overhanging fondant. Use your cake smoother again to correct any imperfections.

Notice Kez' smoother is taller than her cake.

Trim the excess fondant.

Place your set up board (note the baking paper placed first.

Ready....

Flip! and push back onto the bench.

Remove the set up board and baking paper.

Keren Maxwell - Iced by Kez
Top tip - be confident when it comes to flipping your cake. Have one hand firmly under the cake board and the other firmly on top of the acrylic board. In one fluid motion flip it over. Hold your breath if that helps! It really isn't as scary as it seems and remember to breathe again after 😉!

Kez Maxwell owns Iced by Kez* in Auckland, New ZEaland. She says: I live in Auckland with my husband and 4 children. My passion for cake decorating came from making my kids their birthday cakes and has grown from there. I have been decorating for four years now and learned so much along the way. In the beginning Youtube was my class room - but since then I've made some amazing friendships through Facebook in the vast cake world there and through these friendships have learnt so much!


